| AN 01-25CN-2 | PARAGRAPH 1 | |
| SECTION IV | ||
| MAJOR COMPONENT PARTS AND INSTALLATION |
|
||
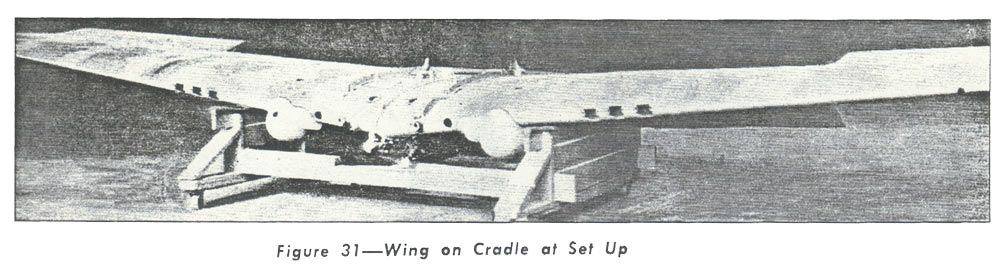
|
Part of the skin attached to the cowl by Reed & Prince head screws will have to be removed in order to get at the cowl attaching screws. (j) Drain the oil system at the "Y" drain and at the drain plug located on the inboard side of the "Y" drain cock. This plug is on the end of the one inch 0.13'. drain line from the bottom rear of the oil tank. (The "Y" drain cock is located on the right hand side 3 inches forward of the leading edge.) (k) Disconnect the oil "Y" drain from the sup. port on the leading edge of the wing by unscrewing the two attaching screws. (See Fig. 35.) (1) Disconnect the wing tank vent lines. (m) Remove the clamps holding the gun heater ducts to their support at the leading edge of the wing immediately forward of the firewall. (n) Remove the cowl shutter torque shaft support attached to the leading edge of the wing on the center line of the airplane. (o) Remove the air exit duct by removing the three (3) screws at the rear of the coolers, the two bolts on top of the exit duct above the aft end of cooler, the two (2) canvas seals from the coolant radiators to the exit ducts, the screw on each side of the aft end of the exit duct and the clip holding the vent lines to the rear of the exit duct. The exit duct can now be removed. (p) Disconnect the fuel selector valve shaft by removing the pin above the universal at the top of the wing foreward of the firewall on the left side. |
(q) Disconnect the fuel line leading from the top of the electric fuel pump and at the bracket on the wing. (r) Remove the 1/4 inch fuel primer line from the strainer and also at the clamp on the leading edge of the panel. (s) Remove the electric conduit from the disconnect plug on the electric fuel pump. (t) Remove the hose clamp, bracket and hose from the fuselage fuel tank fuel line at the trailing edge of the panel. (u) Remove the pilot's seat from the cockpit. (v) Disconnect the elevator push-pull tube at its junction to the elevator controls, and tie to the control stick. Don't forget this as the stick will dam. age the switch panel if this disconnect is not made. (w) Remove the armor plate immediately back of the pilot's seat. (x) Remove the nuts from the fuselage-to-wing bolts using 1/2, 9/16, and 5/3 open end wrenches and socket wrenches. (Y) Raise the landing gear by placing the land. ing gear control valve handle in the "up" position and press the switch for the hydraulic pump located on the control stick. When the gear has been locked .up" place the control handle in the "down" position and actuate the hand pump a few strokes until the tail wheel door starts to open. Stop pumping and the tail wheel will continue to lower of its own weight. This |
|